Previous page Home Building an Irish bouzouki -- day 5 Next

<< | 1 | 2 | 3 | 4 | 5 | 6 | 7 | 8 | 9 | 10 | 11 | 12 | 13 | >>

Day five

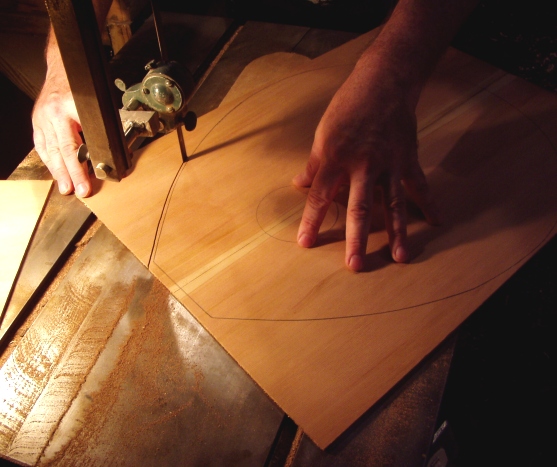
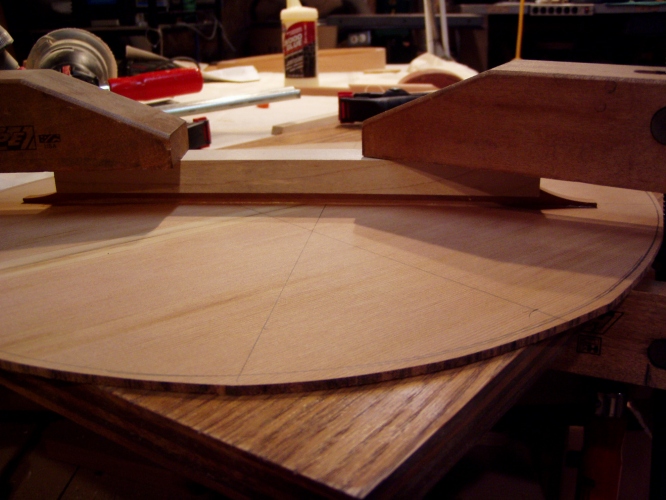
25. Transfer the (oversized) outline to the new soundboard and cut out the shape.
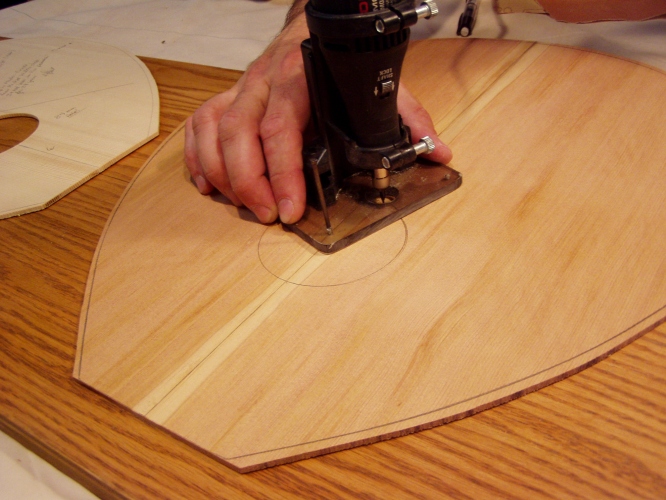
26. A Dremel tool makes nice sound holes.
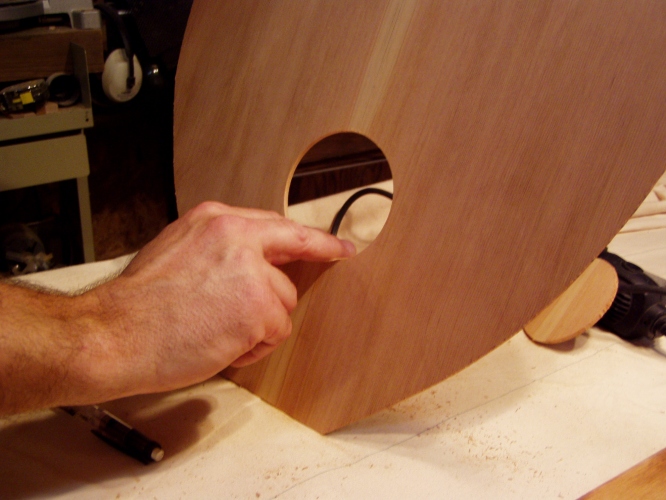
27. A tiny amount of touch-up with fine sand paper.
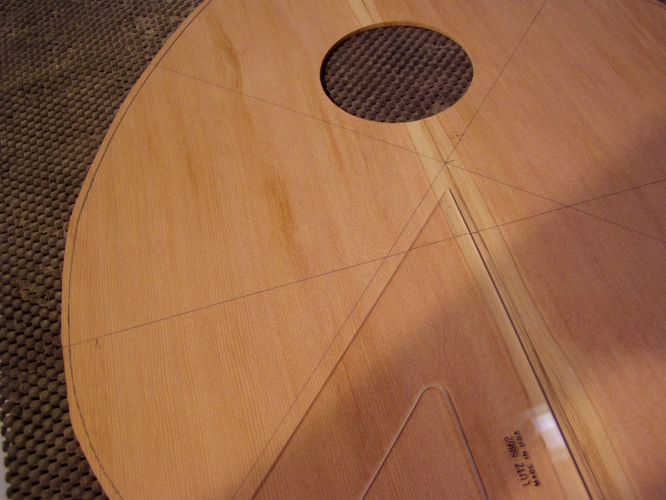
28. Marking the positions for the braces. A horizontal line lower down will tell us the final position of the sides.
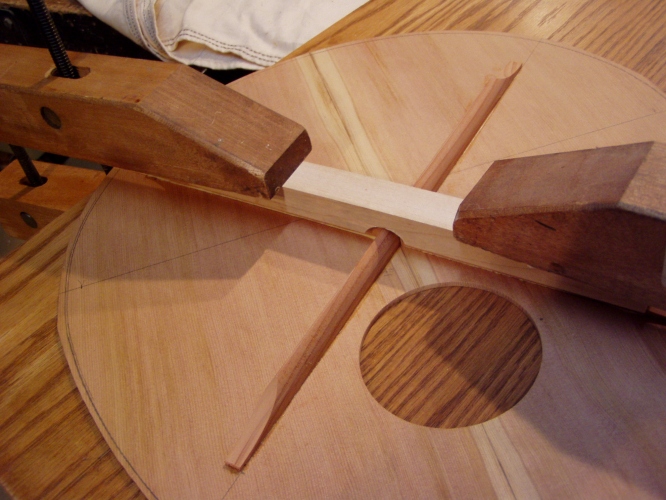
29. Now we can glue on the first long brace.
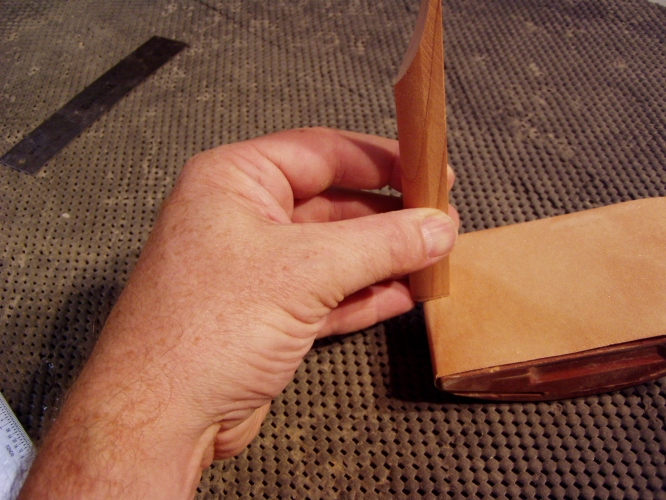
30. The second long brace is cut and shaped.
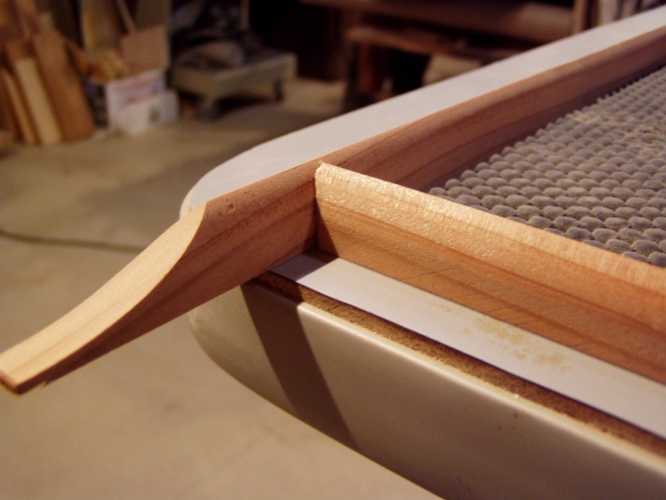
31. Checking the fit of the cross brace.
32. Gluing on the cross brace.


Harmon's Notes:
More jigs at work here. To clamp these evenly, I took a piece of maple and cut a groove in it. Again if you're using their top, no need to cut out the shape, or cut a soundhole. I made our soundhole slightly bigger. I've heard from other luthiers that bigger is better, more air movement, more sound. Although it's nice, I had no intention of putting their lute hole cover on the instrument. I have one I use on my guitar, for rehearsals, and it drastically affects volume and tone.

I found my drill press with a spindle sander worked perfectly for shaping the braces to match. You can wrap sandpaper around the other brace to fit the shape exactly. I was not impressed much with their braces, in the two kits one brace was a full 1/8" taller than the others, and there was that knot..... If you buy this kit, check all the pieces. They are great about replacing parts which are not up to my standards.


Previous page Home Building an Irish bouzouki -- day 5 Next