<< |
1 |
2 |
3 |
4 |
5 |
6 |
7 |
8 |
9 |
10 |
11 |
12 |
13 |
>>
Day seven |
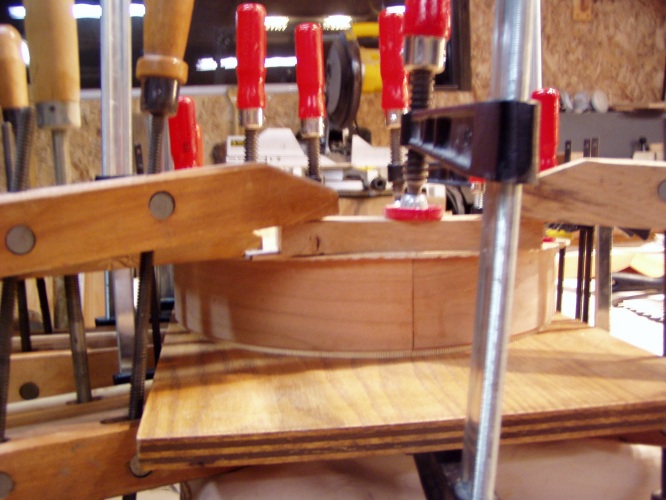 | 41. Gluing and clamping on the back. |
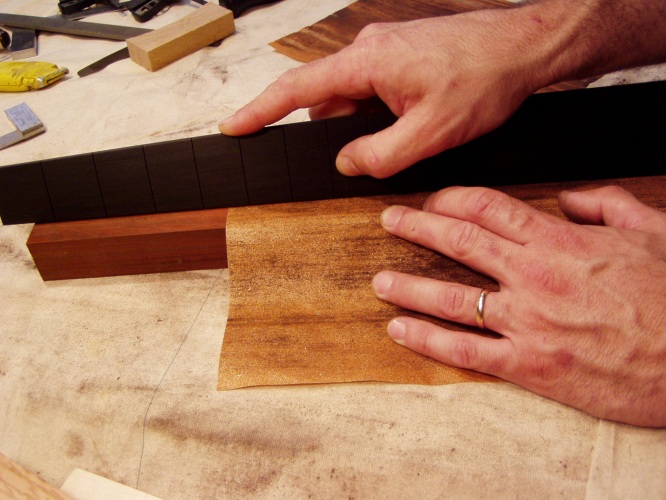
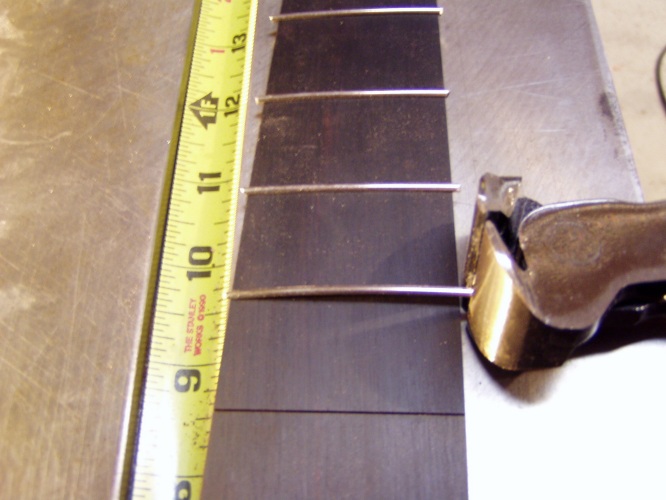
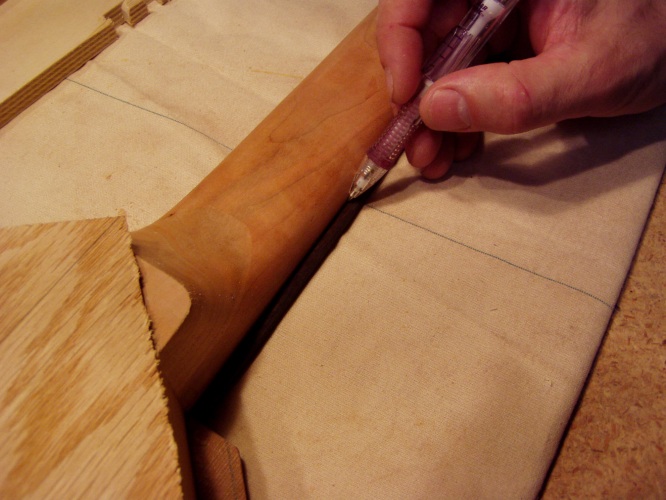 | 42. Shaping the fret board to match the neck. |
 | |
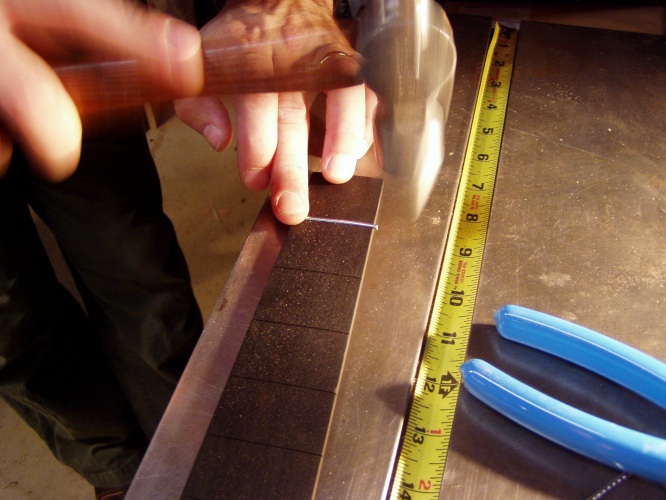 | 43. Tapping in the frets. |
 | 44. Leave some overlap. |
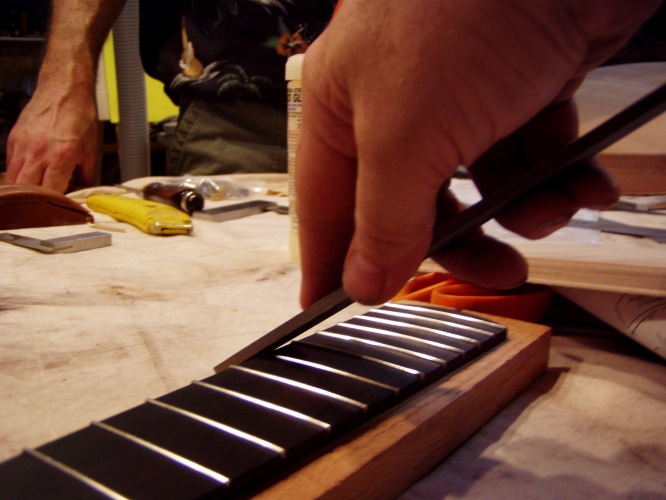 | 45. File off the extra. |
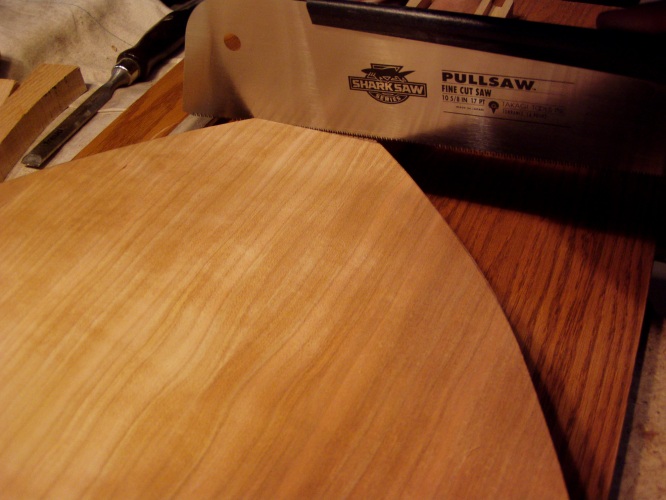 | 46. Unclamp the back. Cut off the end by the
neck heel. |
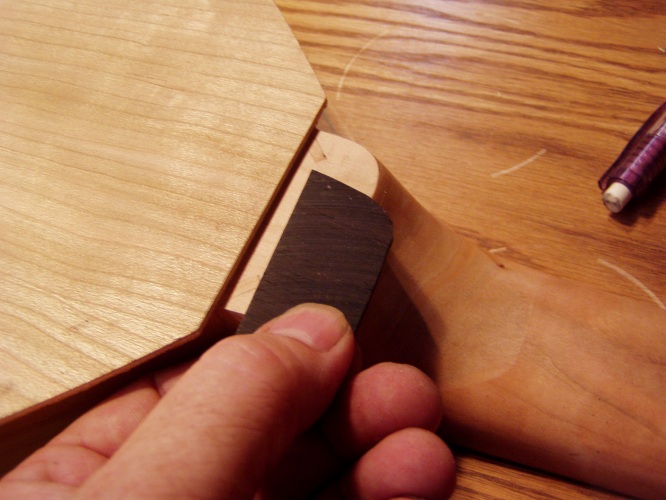 | 47. Glue on a scrap of ebony to match the binding. |
Harmon's Notes:
On step 45, the picture is just for show; I did not do it exactly like that -- it is very easy to nick the
fretboard, and those nicks are going to show!
The heel cap was our own addition, as is the wood binding. The instructions should probably indicate that
the 'plywood' top and back edges will show on the finished product -unless- you bind the instrument.
It's the same with the heel cap shown: it makes the whole back of the instrument on the same plane,
and hides the plywood edge.
Soapbox:
I will say here that I was not happy with the plywood on the backs, the cherry veneer is so thin that
I would imagine inexperienced makers will easily sand right through it. Ours also had gaps and tear-out, so we may have
to use a filler to get it smooth. I also did not like the 'oak' on the inside of the back. Here again,
inexperienced people may put the oak facing out. Even on the inside -- which you can see through the sound
hole -- I don't like it. Would be better to have all matching wood, cherry on both sides.
End soapbox.
Joe's comments:
Actually I did use the file to trim the frets (step 45), and never had a problem.
The cherry plywood back is very pretty wood, but the veneer is very thin as Harmon noted.
The fibers seemed to pull up easily when we used masking tape later, so I expect we will
need to use filler later on.